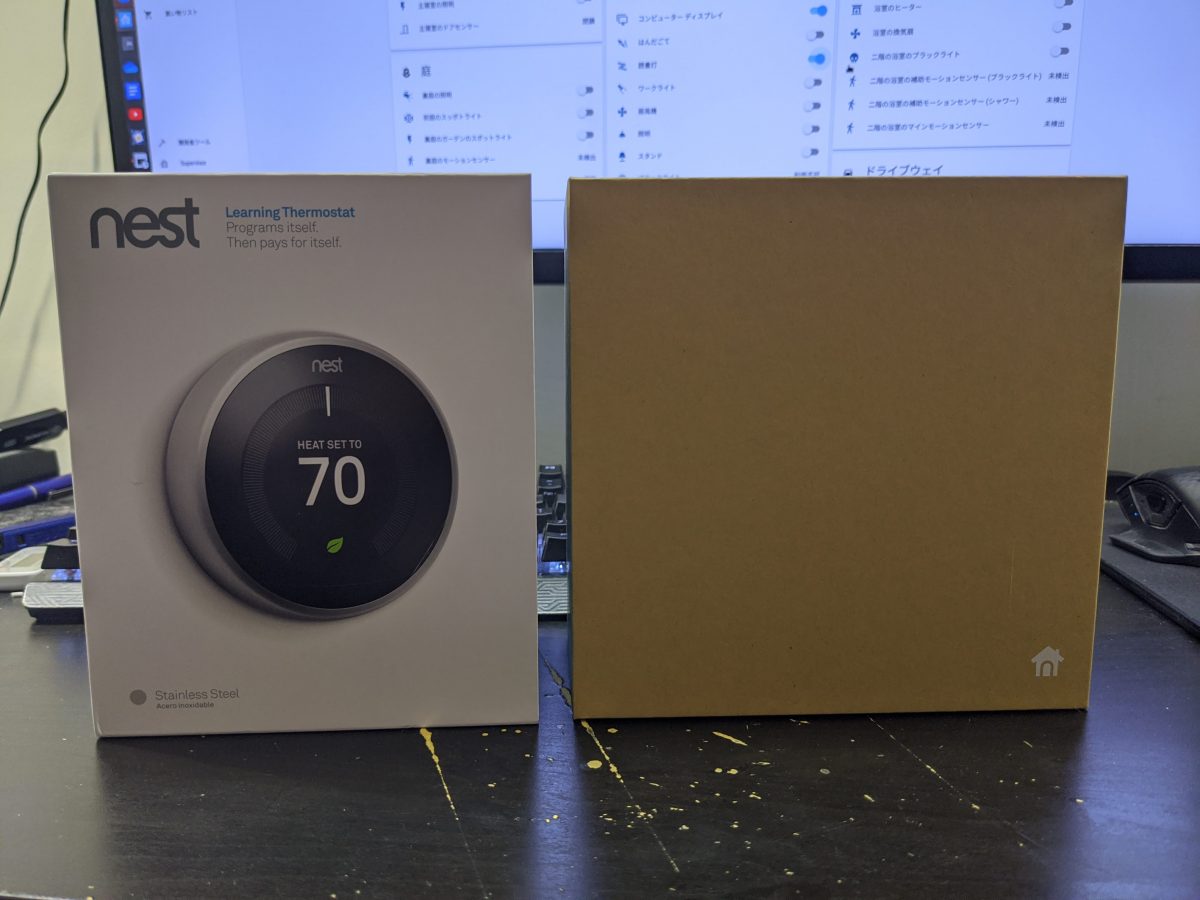
A house that answers your requests and turns on your lights where-ever you go is the dream of every tech person out there, luckily I have some left over money from my part time job to upgrade some of my switches and lights to Wi-Fi enabled ones, and set-up an Intel Nuc for a Home Assistant Instance. The idea of having a smart thermostat had always been tickling in the back of my mind. However, due to the fact that I am in Australia, not everything from the State are going to be compatible. So I did my research, here are my results, and they definitely look promising.
First off, I would like to address the elephant in the room: The Nest Thermostat is not officially released in Australia, you will not get any support or warranty if you break something. Low voltage appliances should not require an electrician to install, but always check with your local government before proceeding.
A Bit About My Heater
The heater the builder put in for us is a Brivis CC320IN compact heater (yes, heating only), it is small enough to fit in my small attic and powerful enough for the house, it burns gas and is generally great for heating the space up.
There were two wires coming out from the wall, they were not color coded, and does not provide adequate power to power the factory thermostat, instead, the original thermostat uses two AA batteries and drive the heater with a relay, if the relay is closed, the heater turns on.
Despite this, I still measured 27V AC potential across the wires. But when I attached the Nest Thermostat, the heater turned on immediately and would not turn off without disconnecting the thermostat, this is likely due to the excessive power draw of the Nest, making the heater think that the two wires are touching.
The Correct Way to Set This Up
I went on whirlpool forums and started looking, luckily, someone had a similar model and was able to successfully install their Nest thermostat with the help of a 24V AC transformer from Jaycar.
The steps are as follows
- Remove the original thermostat
- Extend the wire of the transformer you just got, open a hole down the bottom of your wall, or near a power plug, fish the wire through the wall and have them come out of your thermostat opening.

- Connect the Nest’s base plate, with the output of the transformer to C and RC, output of the heater to W1 and RH
- Attach and setup your thermostat as per manual

Closing Thoughts
The Nest Thermostat is pretty easy to setup with a 2 wire system if you know what you are doing. The setup process does not require an electrician to be carried out and can be done within 15 minutes if you are experienced. However, I do not recommend you tinkering with your walls and electronics if you have completely no idea of what you are doing, patching walls can be expensive if you accidentally messed something up, and fishing wires through walls can be tedious.

Thanks for the guide. I’ve got a 2 wire Bravis Gas Heater and it works a treat using your instructions on a Gen 3.
Hey I’m trying to do a similar setup to you except that I purchased a “nest e” instead of the nest 3rd gen. It only has one ‘R’ terminal, so I’m not sure whether I should use it for the heater connectors or the AC transformer.. Where to put the extra wire?
Hi, just wondering has the nest e work well on your heater system?
Hi, unfortunately I have not tried it with a Nest E as I do not have access to one, however it should be trivial to add a relay to your Nest E to make it act as a dry contact controller.