Australia is one of the least DIY Friendly nations when it comes to home automation, with its strict electrical codes and heavy penalties driving away most tinkers. Luckily for us, Arlec recently released a range of new smart switches that are compliant with the Australian electrical regulations; which means with an authorized sparky, these switches can make our homes alive.


However, not all of us are comfortable with everything in the house connected to the internet, so I will also be covering the method to convert these devices to Tasmota.
The Pros
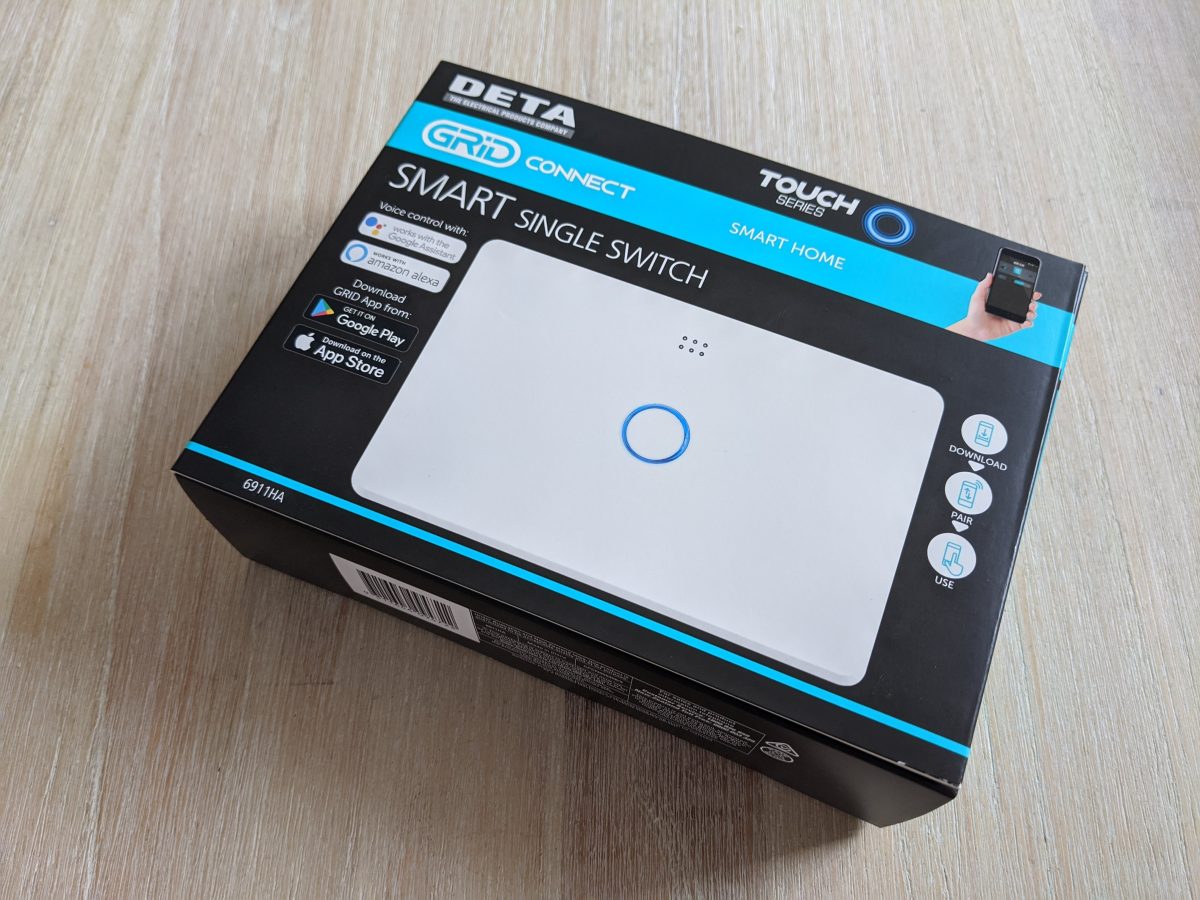
- The switch comes nicely packaged, with detailed instructions on how to set them up with the default application after installation. (you should always have an authorized electrician installing the switch for you).
- The switch looks quite nice on the wall, with its white LED illuminating the surrounding area, making the switch easy to see when it is pitch black.
- The button(s) are responsive, just like those on the sonoff touch.
- It uses an ESP8266EX controller, making it easy to put your own firmware on it and get it off the internet, making your smart home more secure.
- The switch can do 10 Amps on a single gang comparing to sonoff touch’s 6 Amps.
- The switch is easy enough to mount if you are doing it yourself comparing to sonoff’s offer.
The Cons
- The price: with the single gang option starting at AU$45.98, this switch is not competitive comparing to sonoff’s offer at only about $20.
- Arlec only offers single and two gang configurations, no three gang option.
- This switch does not come with a RF Antenna, meaning that you cannot operate it with a remote.
- And lastly, the switch requires a neutral wire to function, which is not required by the electrical standard in Australia.
Tear Down and Tasmota Conversion

To tear the switch down, you will have to remove its front cover first, use a plastic tool to pry on the circled areas.

Once the front cover is removed, remove the 4 screws underneath the front cover with a flat head screw driver.

After removing the screws, the controller PCB could come off, hold onto the slot on the PCB using your finger and lift it off carefully.

To put Tasmota onto the switch, we will need to write new codes into the on board micro controller, luckily, Arlec made this process quite easy as they have exposed a few pins for us to use. Put your USB to Serial adapter to 3.3V mode and connect it as shown below, note that GPIO 0 on the micro controller must be connected to ground for it to go into programming mode.
DO NOT POWER SWITCH FROM MAINS WHILE IT IS CONNECTED TO YOUR COMPUTER.


The final product should look something like this.

Now the flashing can begin, download Tasmota here, connect your Serial adapter to your computer and use esptool.py to flash your module, you can use a GUI tool on Windows provided that you can set the flash mode to DOUT.

Now, disconnect GPIO 0 from Ground and power the module back up. Connect to its Wi-Fi network, open your browser and navigate to 192.168.4.1, you then should be able to see the configuration page. Configure the Wi-Fi networks accordingly, access the switch with the internal IP address afterwards.
For 1 Gang Switches
For 2 Gang Switches
Now connect the switch back to the relay board, the relay should click when you push the button. If yes, you are done converting the switch to Tasmota, you may want to configure MQTT among other stuff to make the switch work with your existing home automation setup.
Conclusion
The DETA Smart Switch is a compact, nice looking and easy to use smart switch that is compliant with Australian standards. It is also relatively easy to install custom firmware provided you have the right skills and tools.
Nevertheless, the price makes it a hard buy for a lot of people, especially considering how cheap the sonoffs can get.
Disclaimer: This is not a paid review, I purchased all the products mentioned here with my own money. Flashing custom firmware will likely void your warranty, please proceed with care.